Install & sign in
Download, sign in, and where your files live on disk.
The SnapFlow Sync desktop app Desktop app is for studio work — pulling your RAWs down to edit in Lightroom or Capture One, culling a big shoot fast, and pushing your finished selects back up. It runs alongside your editor and keeps a local copy of your albums on disk, so you work on real files, not a browser.
This chapter gets the app onto your Mac, signs you in, and gives you the lay of the land — the bottom stage bar that switches between work areas, and the Settings stage where the app keeps your account, your sync folder, and your theme.
Mac only, for now
SnapFlow Sync is a macOS app. It is signed and notarised by Apple, so it opens without a "this app is from an unidentified developer" warning.
Install the app
You download the app from the web side of SnapFlow, then drag it into your Applications folder. It lives in two places on the web — the Settings area and the older Profile page — and the card is identical in both.
- Open snap-flow.org in your browser and Sign in if you aren't already.
- Click your avatar (top-right) → Settings, then open the Integrations tab. — you'll see a SnapFlow Sync card with a blue Recommended pill.
- Click Download for Mac. — a
.dmgdisk-image file lands in your Downloads folder. - Double-click the downloaded
.dmgto open it. — a Finder window appears showing the SnapFlow Sync app icon and an Applications shortcut. - Drag SnapFlow Sync onto the Applications folder. — the app copies in; you can now eject the disk image.
- Open Applications and double-click SnapFlow Sync to launch it. — the sign-in card appears (see the next section).
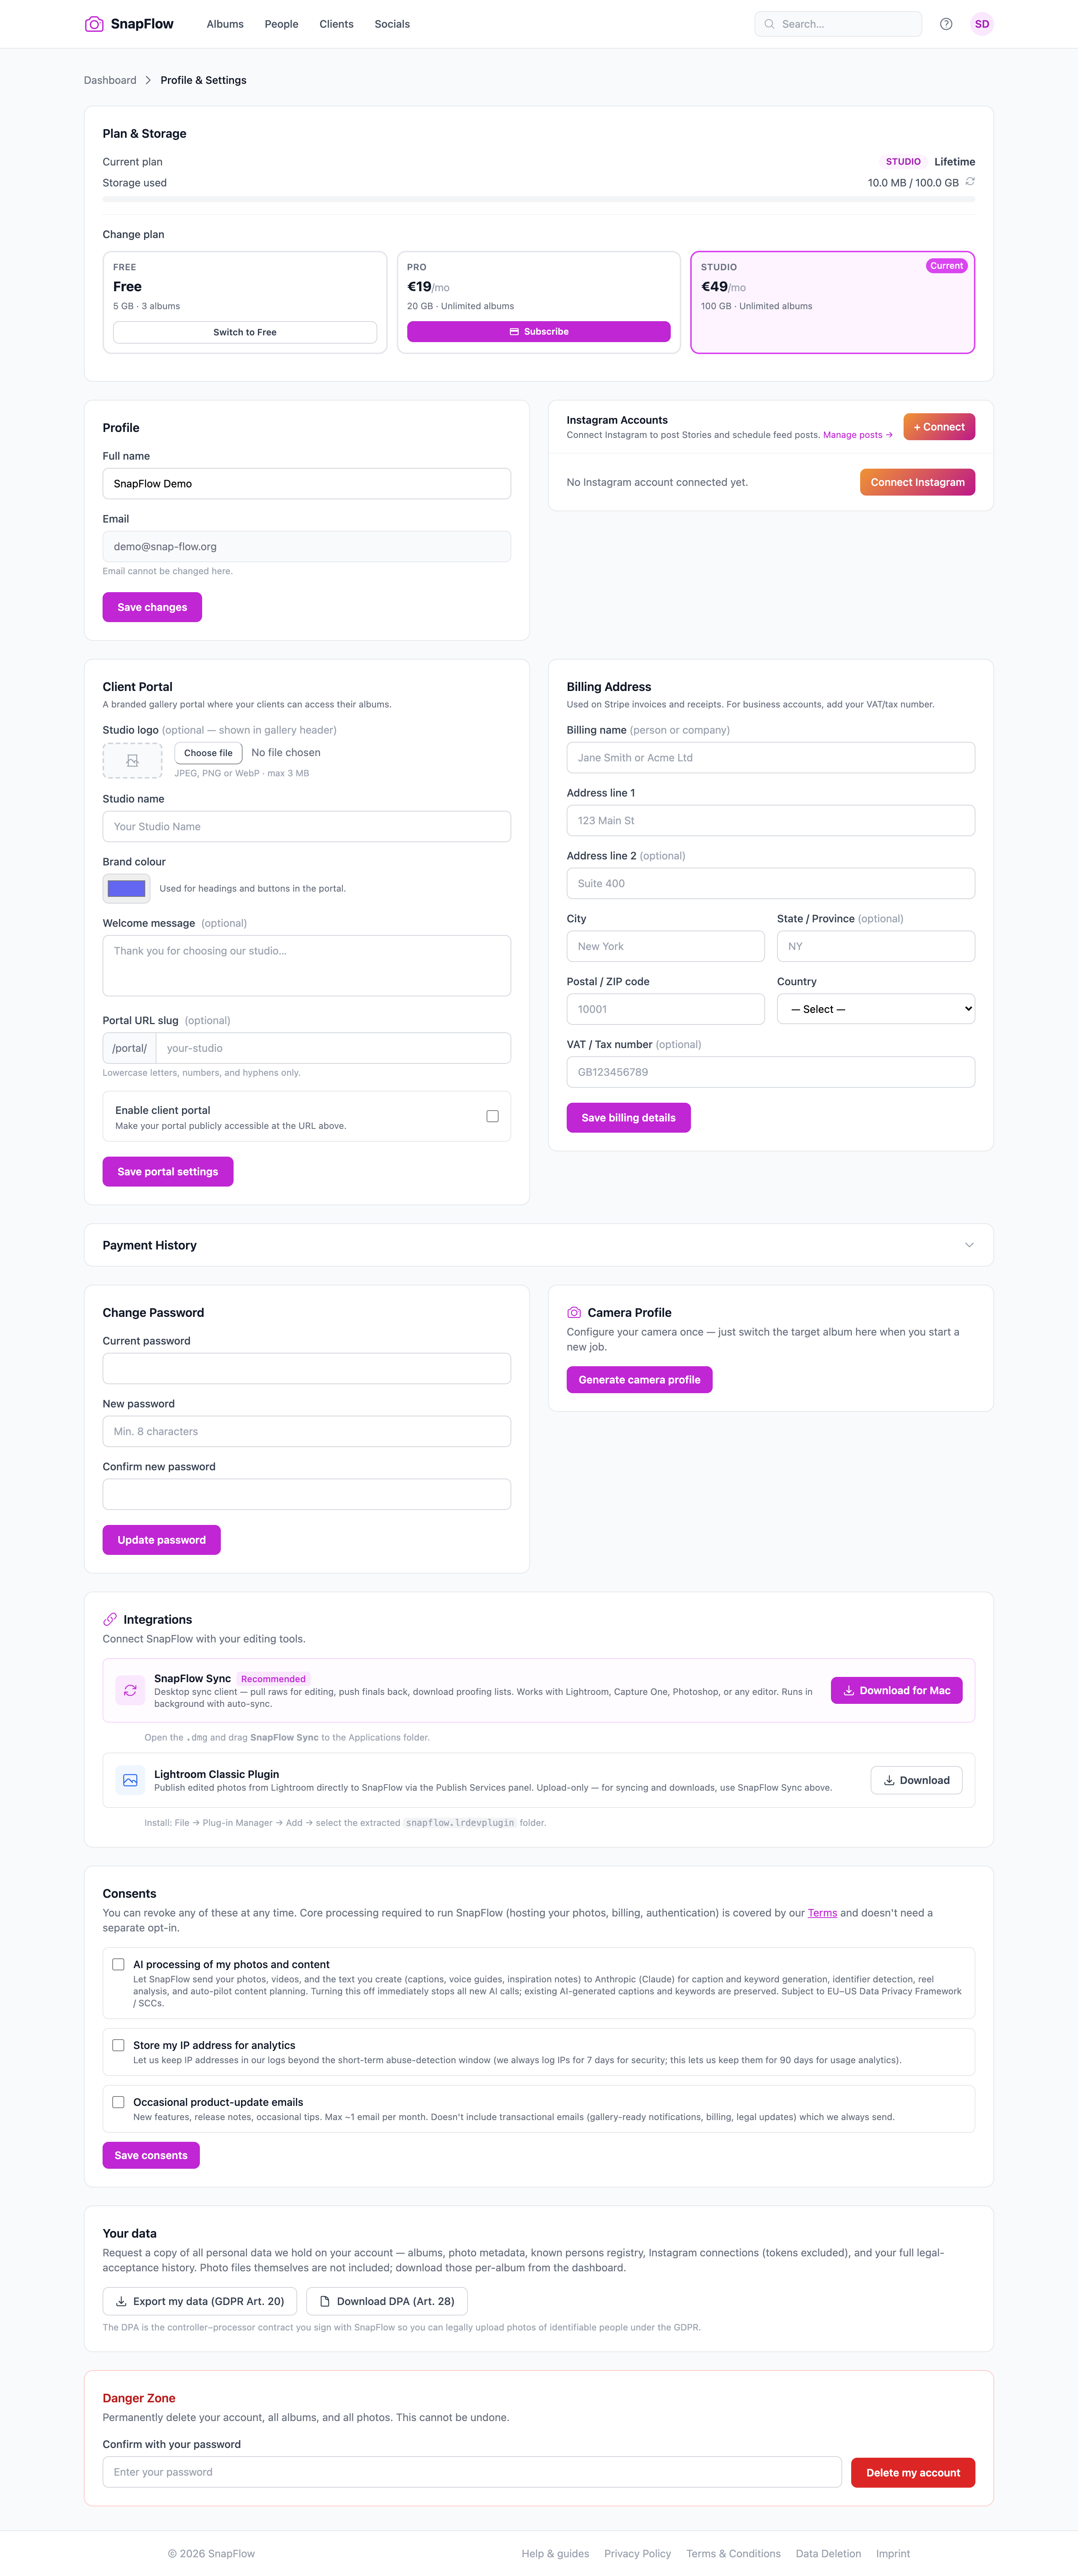 The SnapFlow Sync card under Settings → Integrations: ① the Recommended pill, ② the Download for Mac button, ③ the line "Open the .dmg and drag SnapFlow Sync to the Applications folder." The same card also lives on your Profile page.
Where the download lives
Can't find the avatar menu? You can also reach the card from the older Profile page — both show the same Download for Mac button. See Account & settings for a tour of the Settings tabs.
Sign in
The first time you launch the app you'll see the Connect your photographer account card. You sign in with the very same email and password you use on the web — no separate desktop account.
- In the Server field, leave the default
https://snap-flow.orgas-is. — only change this if your studio is on a custom domain. - Click the Email field and type the email address for your SnapFlow account. — the text appears as you type.
- Click the Password field and type your password. — it shows as dots.
- Click Connect (or just press Enter). — a brief "connecting" status shows, then the card disappears and the app shell opens with your albums.
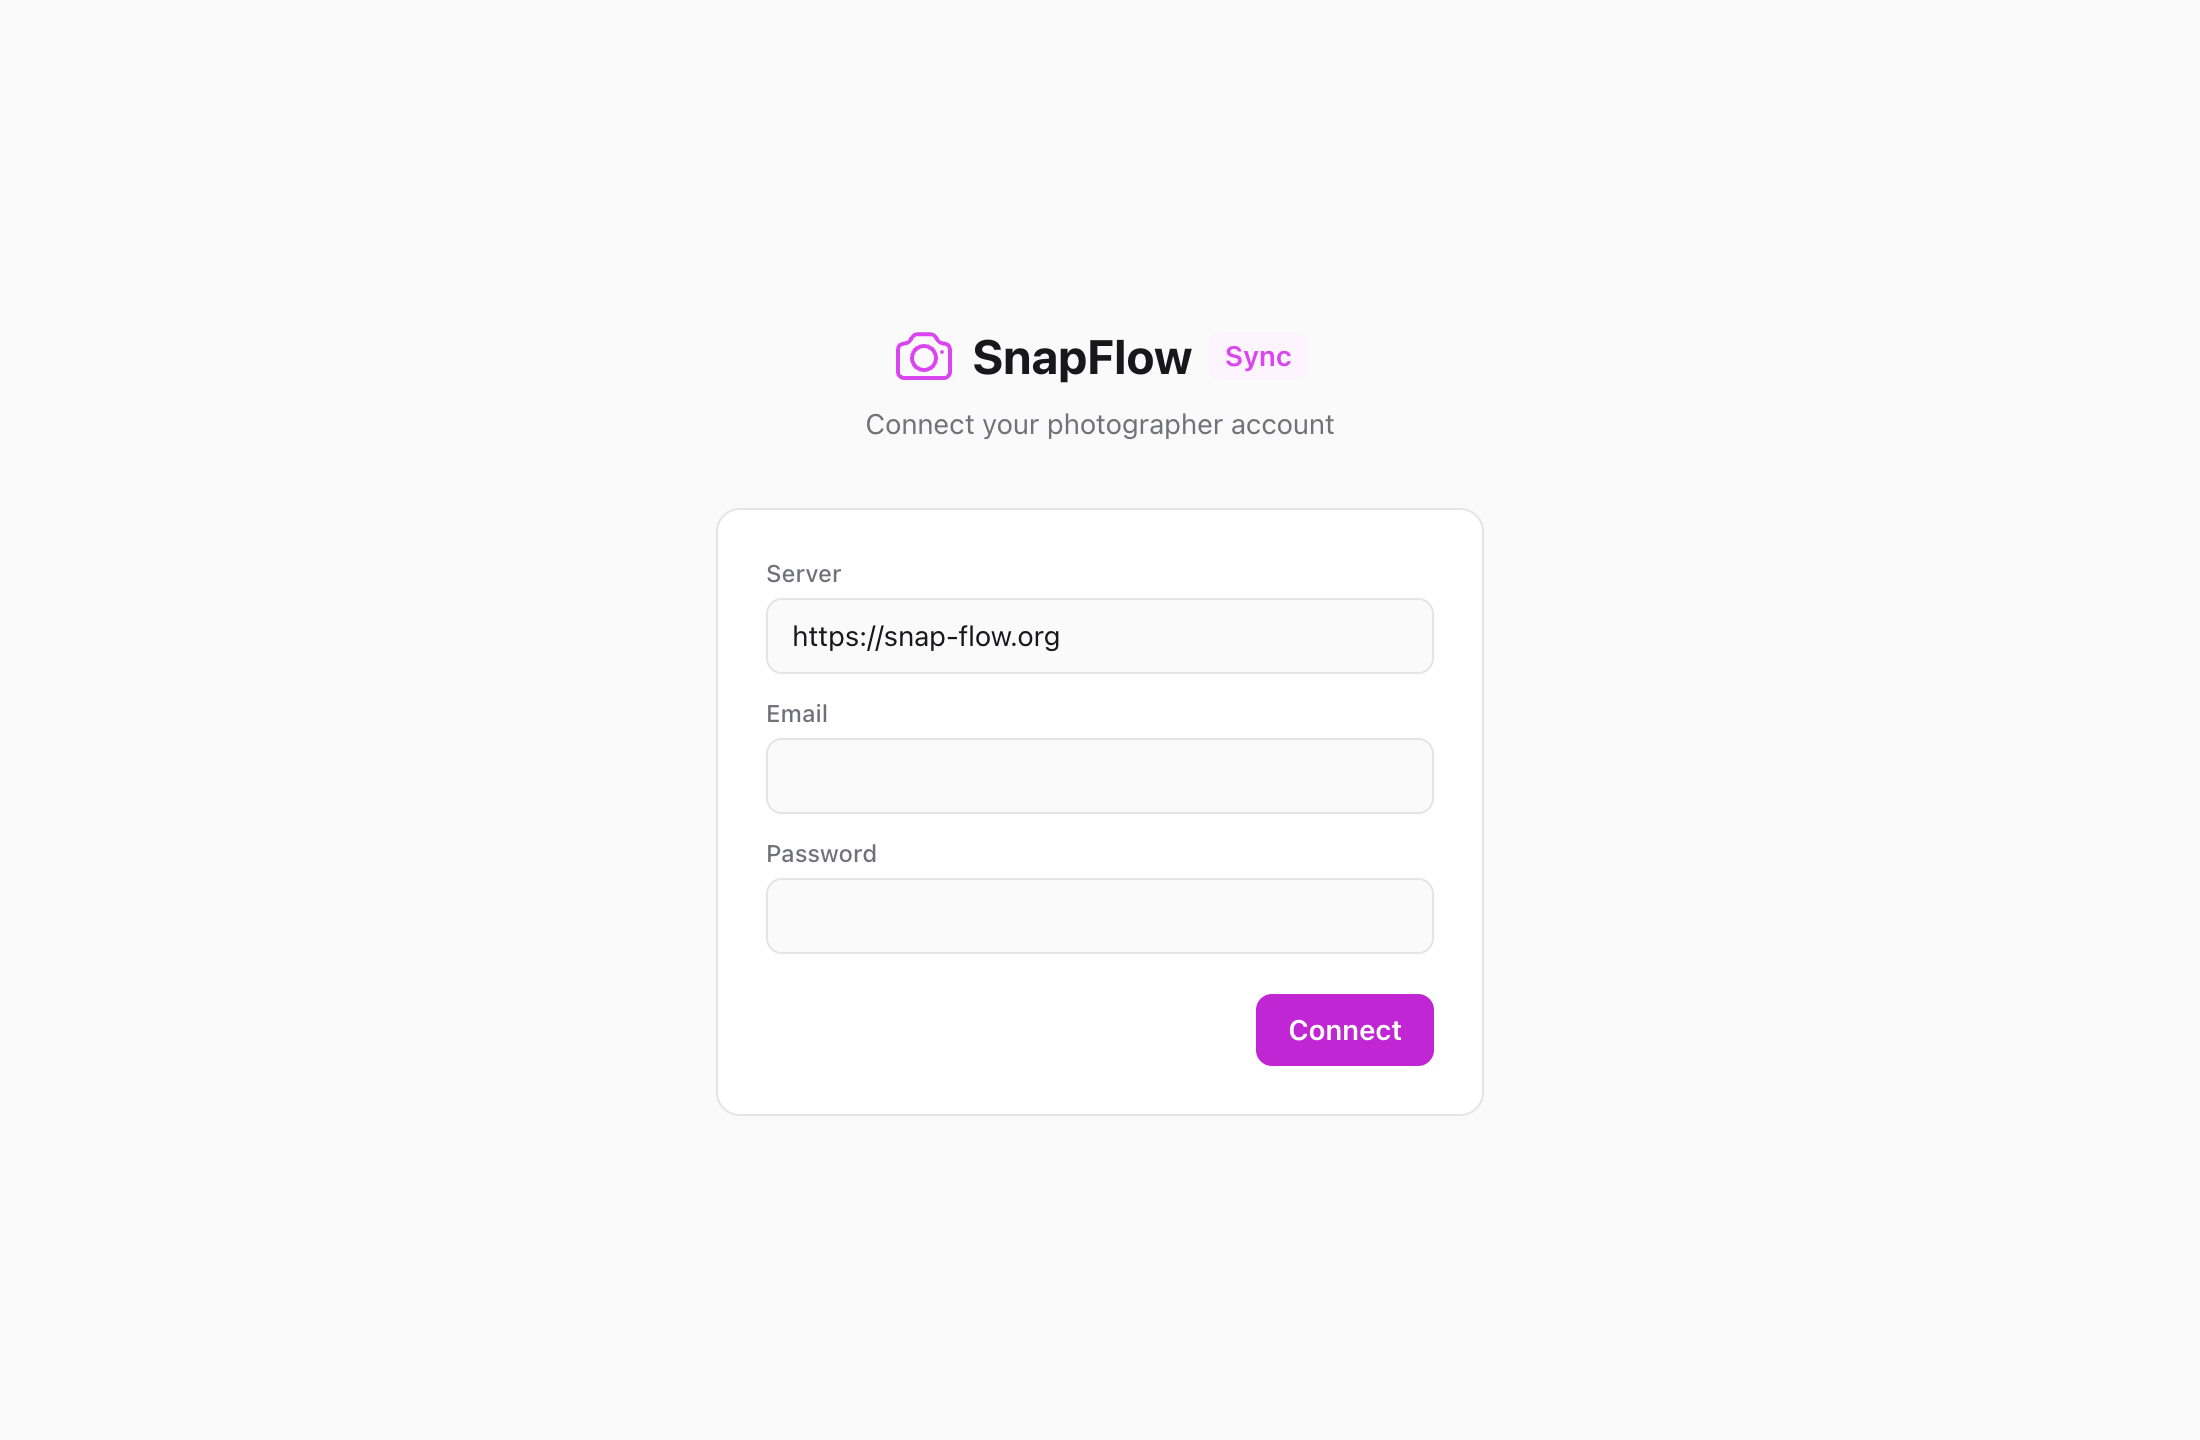 The first-launch sign-in card: ① the Server field (pre-filled with
 https://snap-flow.org), ② Email, ③ Password, ④ the blue Connect button. Pressing Enter does the same as clicking Connect.
When you're in, the app shell appears: a top bar with a search box, the main work area in the middle, and — most importantly — the bottom stage bar along the very bottom of the window, with Library highlighted as the starting area.
Your password is never stored
Signing in trades your password for a short-lived access token, kept in the macOS Keychain (the system's built-in password vault). The app refreshes that token quietly while you work, so you rarely sign in again. Your actual password is never written to disk.
Can't connect?
The Server must be an https:// address — the app rejects plain
http://. If sign-in fails with a Keychain error, open the macOS Keychain
Access app, allow the prompt, then try Connect again. If your session
later expires, an amber "Your session expired — please sign in again" banner
appears on the sign-in card; any pending uploads resume after you reconnect.
The bottom stage bar — your map of the app
Everything in SnapFlow Sync is reached from the stage bar along the bottom of the window. Each button is a separate work area (a "stage"). Click a button, or press its keyboard number. Reading left to right:
| Button | Shortcut | What it's for |
|---|---|---|
| Library | ⌘1 |
Browse, cull and rate your albums (the starting area). |
| Edit | ⌘2 |
Develop RAWs locally and set an album's auto-edit style. |
| People | ⌘3 |
Face and athlete recognition across all albums. |
| Deliver | ⌘4 |
Galleries, client portal, proofing, watermark, embargo. |
| Styles | ⌘5 |
Train and manage your auto-edit looks. |
| Metadata | ⌘6 |
Abbreviations, photographer profiles, bulk metadata tools. |
| Settings | ⌘7 |
Your account, sync folder, cache, theme. |
| Manage ▾ | — | A small menu for the cross-album admin areas (see below). |
The Manage ▾ button (far right) opens a little pop-up menu rather than a stage. It always lists Clients, Reports and Search, and — if you're on an organisation/agency account — also Projects and Organization.
 The bottom stage bar: ① Library (highlighted, ⌘1), ② Edit (⌘2), ③ People (⌘3), ④ Deliver (⌘4), ⑤ Styles (⌘5), ⑥ Metadata (⌘6), ⑦ Settings (⌘7), and ⑧ the Manage ▾ menu for Clients · Reports · Search.
Two search boxes — they do different things
The Search albums (⌘F) box in the top bar only filters the album list in the left sidebar. To search across your whole library — albums, photos and people — use Manage ▾ → Search. See Search across your library.
A few keyboard shortcuts worth knowing
⌘K— opens the command palette, a quick switcher that jumps to any album or command by typing.⌘F— jumps your cursor into the Search albums box in the top bar.⌘,— opens the Settings stage (same as clicking Settings or pressing⌘7).?— opens the keyboard cheat-sheet, listing every shortcut. (Press it any time you aren't typing in a field.)
The Settings stage
Press ⌘7 (or click Settings in the stage bar, or pick Settings from
the avatar menu top-right) to open the Settings stage. This is where the app keeps
all of its housekeeping. Here's what each section does:
- Account — shows the server and the email you signed in with. View account ↗ opens your account on the web; Disconnect signs the app out.
- Sync folder — the folder on your Mac where pulled originals and finals
live. By default this is
~/SnapFlow Sync/, with one sub-folder per album. Click Change… to move it somewhere else (an external drive, for example). - Local cache — the thumbnails and previews kept on disk so albums open fast. Click Clear cache to free that space; thumbnails rebuild automatically the next time you open an album. A separate Editor previews row (with a size Limit dropdown) covers the develop-editor proxy cache.
- Mounted volumes — click to expand and see the external drives and SD cards currently plugged in.
- Storage — a used/limit bar showing how much of your plan's storage you've used. View detailed usage ↗ opens the full breakdown on the web.
- Appearance (Theme) — pick Dark (the default, a Lightroom-neutral grey that's a steady reference for judging tone), Light, or System (follows your macOS appearance; the Edit stage stays dark either way).
Where your files actually live
Inside your Sync folder, each album gets its own sub-folder, and inside
that the app keeps your originals and edits in raws, finals and proofed
folders. You can open any album's folder straight from Finder via the album's
⋯ menu → Show in Finder. See
Syncing albums for how files flow up and down.
Three handy toggles in Settings
Lower down the Settings stage you'll find Launch at login (start the app
automatically), Push notifications (native macOS alerts for sync events),
and Write recognised names to sidecars (bakes detected people and numbers
into each RAW's .xmp so Lightroom shows them). Each is a simple on/off
switch.
Once you're installed and signed in, head to Syncing albums to start pulling photos down, or Importing from an SD card to ingest a fresh shoot straight from your camera card.