Recognition
Run recognition and name, share or ignore people on the go.
iOS
Recognition is how SnapFlow finds the people in your photos and groups every shot of the same person together. On your iPhone you can run a recognition pass and tidy up the faces it finds — name people, share their photos, or hide bystanders. The deeper fixes (teams, race numbers, vehicles, helmet paint) are finished on the web; the app links you straight there when you need them.
Turn it on first
The Recognize button only appears when recognition is switched on for the album. You enable it in album settings — easiest on the web. See Recognition on the web for the one-time setup (tick People detection, accept the legal-basis box, Save). The desktop app has the same controls in Recognition on the desktop.
Running a recognition pass
When an album has any recognition switched on, its detail screen shows a Recognize button in the top-right of the header.
- Open the Albums tab and tap the album you want. — the album detail screen opens, with a small Recognize button (a "people" icon) near the top-right.
- Tap Recognize. — what happens next depends on the album (see the two cases below).
- Watch the progress strip that appears under the header. — it walks through Detecting faces… → Grouping faces… → Matching athletes… → Done, with a blue bar and an "N / M" counter (photos processed out of the total).
- Leave the screen whenever you like. — the run keeps going on our servers. When you come back, the button reads Running… until it finishes, then the new people appear in the People strip.
 The album header. ① the Recognize button (reads Running… while a pass is in flight). ② the progress strip with its stage label (Detecting faces…) and the N / M counter. ③ the first-time AI processing sheet — its Allow & continue and Not now buttons.
Case A — a "smart" album asks permission first
Some recognition jobs send a copy of your photos to our AI provider to read race, bib and sail numbers, identify team liveries, or match helmet paint. The very first time you run one of those on this account, a sheet slides up before anything is sent.
- Read the Use AI to recognize your photos sheet. — it lists what's sent (a downscaled copy of the photos you process), who it goes to (Anthropic, the Claude AI service, in the USA), and confirms faces are never sent.
- Tap Allow & continue. — consent is saved to your account and the recognition pass starts immediately. You won't be asked again.
- Or tap Not now (or Close, top-left). — nothing is sent and the pass does not run.
You stay in control
You can switch AI processing off again any time at Profile → AI processing (the avatar menu on the Albums tab). See Profile & notifications. Turning it off stops SnapFlow sharing any photos with the AI service.
Case B — a face-only or visual album just runs
If the album only does face grouping or visual similarity (no number reading, no helmet paint, no AI captions), those run entirely on SnapFlow's own servers. There's no AI sheet — the pass starts the moment you tap Recognize.
Re-running a pass
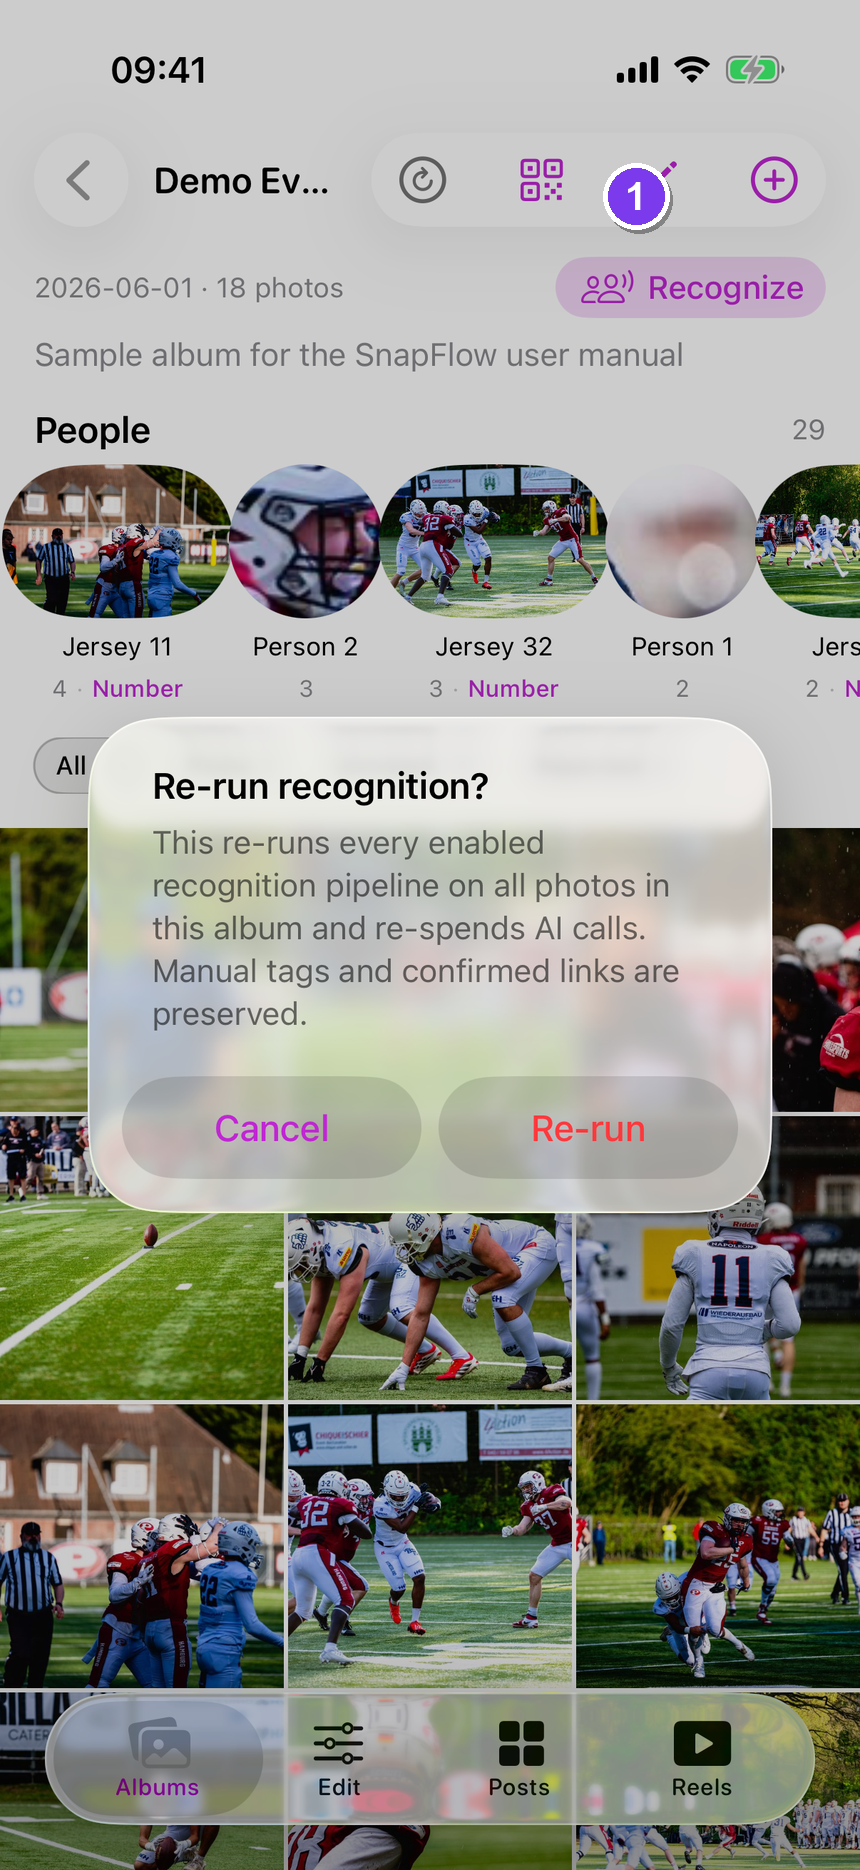
If you tap Recognize on an album that has already been processed, a small confirm pops up first.
- Read the Re-run recognition? alert. — it warns that re-running spends AI calls again, and reassures you that your manual tags and confirmed links are kept.
- Tap Re-run to go ahead, or Cancel to back out. — Re-run starts a fresh pass over every photo.
The People strip
Once a pass finishes, every recognised face is grouped into a cluster — one card per person. These sit in the People strip across the top of the album.
Each card shows:
- a round thumbnail of the person,
- a name, or Person 2 if you haven't named them yet,
- the number of photos they appear in,
- a small seal badge with their name once they've been identified.
Tap any card to open that person's cluster.
Number, Visual and Helmet cards too
Alongside faces, the strip also shows Number, Visual and Helmet clusters. Each carries a small coloured kind badge (Number, Visual, Helmet) under the photo count so you can tell them apart from faces. These are view-only on iOS — see Other recognition types below.
Working with a face cluster
Open a face card to reach its detail screen. Up top you'll see a big round portrait, the person's name (or Person N), and the photo count. Below that, three buttons; below those, a grid of every photo they're in.
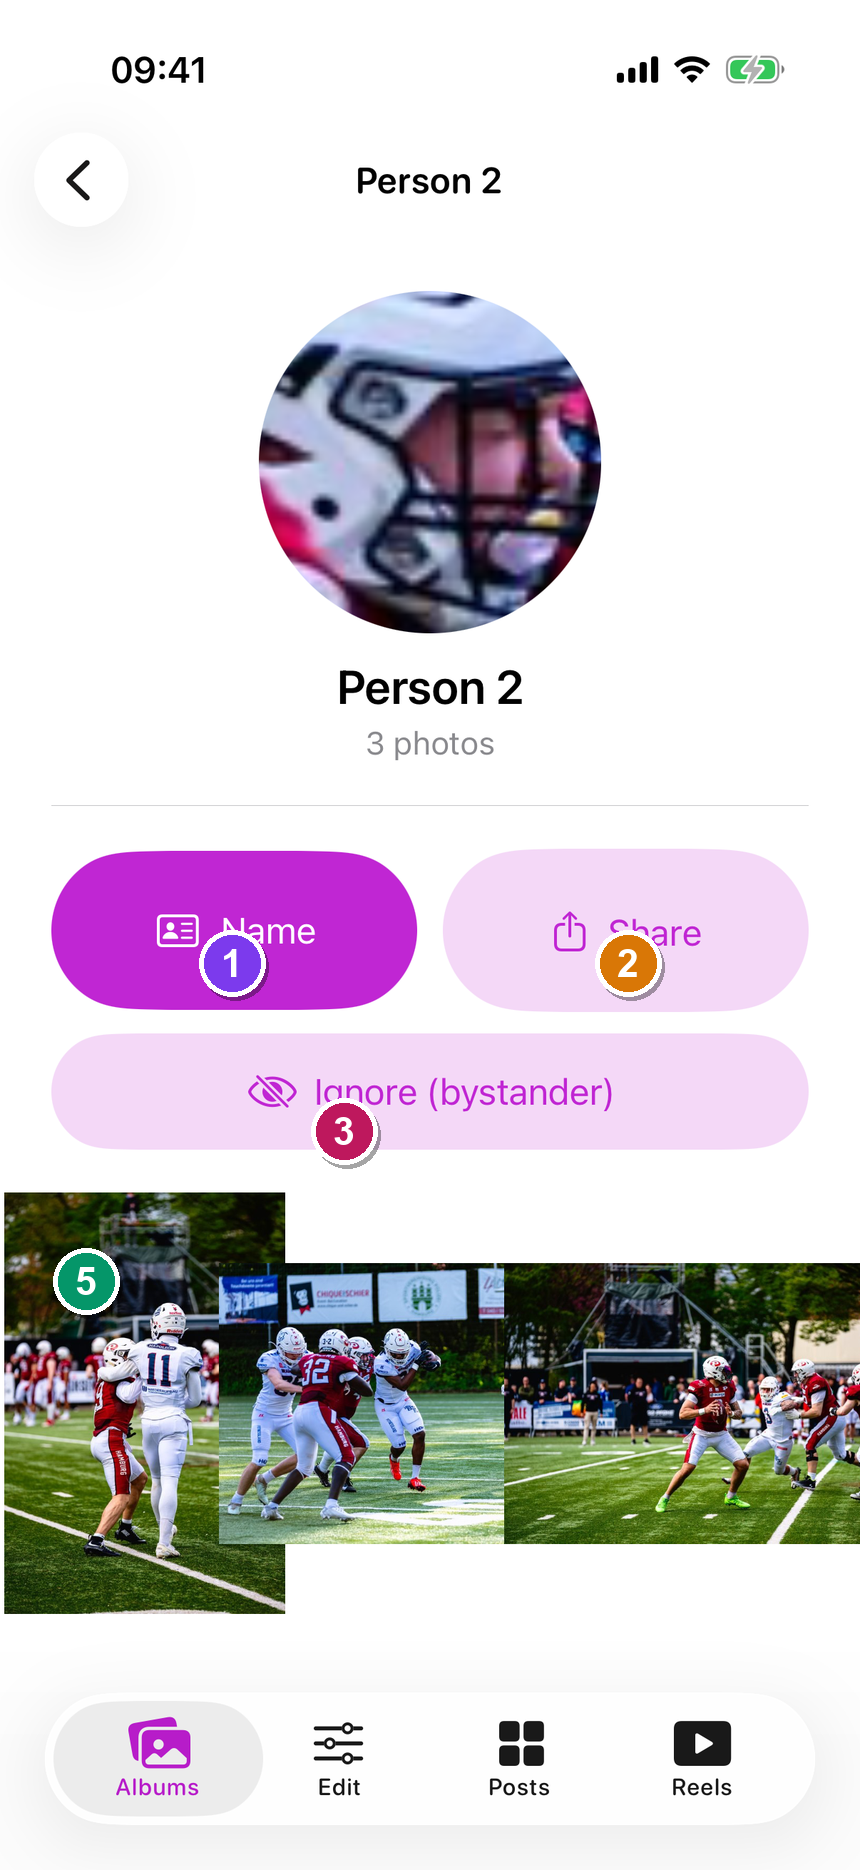 A face cluster. ① the blue Name button (reads Change once the person is named). ② the Share button. ③ the Ignore (bystander) button. ④ the seal badge with the person's name, shown once they're identified. ⑤ the grid of their photos — tap any to view full-screen.
Name a person
- Tap Name (the blue button on the left). — a Rename sheet slides up. If the person already has a name, this button reads Change instead.
- At the top, pick a mode with the segmented control: - Create — type a Name (and optionally Email / Instagram handle). — saves a new person in your registry and tags every face in this cluster as them; future albums auto-match the same face. - Link — tap Choose person… and pick someone you've shot before. — attaches this cluster to that existing athlete. - Relabel — type a quick New label (e.g. Guy in red jacket). — renames the cluster only, without saving anyone to your registry.
- Tap Save (top-right). — the sheet closes and the person's name appears on the card, with a seal badge to mark them identified.
Share just this person's photos
- Tap Share (the middle button). — a QR-code screen opens for exactly this person's photos in this album.
- Hand off the QR, link or title from there. — anyone who scans or taps it sees only that person's shots. Full details in Sharing on iOS.
Hide a bystander
Some clusters are passers-by you don't want in the gallery. Hide them:
- Tap Ignore (bystander) (the button at the bottom). — an Ignore this person? confirm appears.
- Tap Ignore. — the cluster drops out of the People strip and out of delivery galleries. (Tap Cancel to keep it.)
Bring an ignored person back
Ignored clusters aren't gone. On the album screen, the People strip shows a collapsed Ignored (N) row at the end. Tap it to expand, then tap Un-ignore under any card to restore it.
Other recognition types
Faces are the only kind you can fully edit on the phone. Number, Visual and Helmet clusters are view-only on iOS by design — fixing race numbers, setting teams, merging vehicles and naming helmet paint needs the larger correction tools that live on the web.
When you open one of these cards you'll see:
- its kind (for example Number cluster) and any team it's matched to,
- a grid of its photos,
- for a Number card, an Edit on web link that opens that exact card in the web dashboard so you can finish the job there.
To rename, set a team, fix a number, merge or reassign these, use the web dashboard:
- Recognition on the web — the full people page.
- Fixing race & bib numbers.
- Teams & kit matching.
- Vehicles and Helmet paint.
Teams live in their own strip
Matched teams don't appear as People cards. They show as chips in a separate Teams strip below the People strip. Tap a team chip to share every photo of that team — see Sharing on iOS.
Tagging a photo recognition missed
If a shot didn't get picked up, you can add a tag to that one photo by hand from its full-screen view.
- In any photo grid, tap a photo to open it full-screen (the loupe — the big single-photo view).
- Tap the tag button in the top row of icons. — a Tag photo sheet slides up. (This button only appears when the album has a taggable recognition type switched on.)
- Flick on the type you want (for example a race number or a visual subject), type the value, then Save. — only the recognition types enabled on this album show up here.
Faces are tagged on the web
The iOS Tag photo sheet handles numbers and visual subjects only. Adding a face by hand needs you to draw a box around the person, which is a web-dashboard job for now — see Recognition on the web.