Instagram & socials
Connect, post Stories, auto-post, carousels, tips, reels and analytics.
SnapFlow posts your work to Instagram for you — Stories straight from an album, feed posts, carousels, tips slideshows and reels — with AI help on the captions and a coach that learns from what performs. It can also cross-post your reels to TikTok. Everything lives under the Socials area of your dashboard. Web
The first time you read this, just follow the flows in order: connect your account, post a Story, then explore the richer formats. Every screen is named with its exact menu path so you never have to guess where you are.
The Socials tabs
Open Socials from the top navigation. A row of tabs runs across the top of every Socials screen. The order, left to right, is:
Autopilot · Posts · Reels · Review · Scheduled · History · Analytics · Growth · Voice & Ideas · Clips · Accounts
Not every tab shows for everyone:
- Posts · Review · Scheduled · History · Analytics · Accounts come with Instagram posting (Pro and up). Pro
- Autopilot · Reels · Growth · Voice & Ideas · Clips are the AI suite and only appear on Studio. Studio
Two little badges on the tabs
The Review tab grows a small blue number when you have drafts waiting for approval. The Growth tab grows an amber number when there's a new viral alert to read. No badge means nothing is waiting.
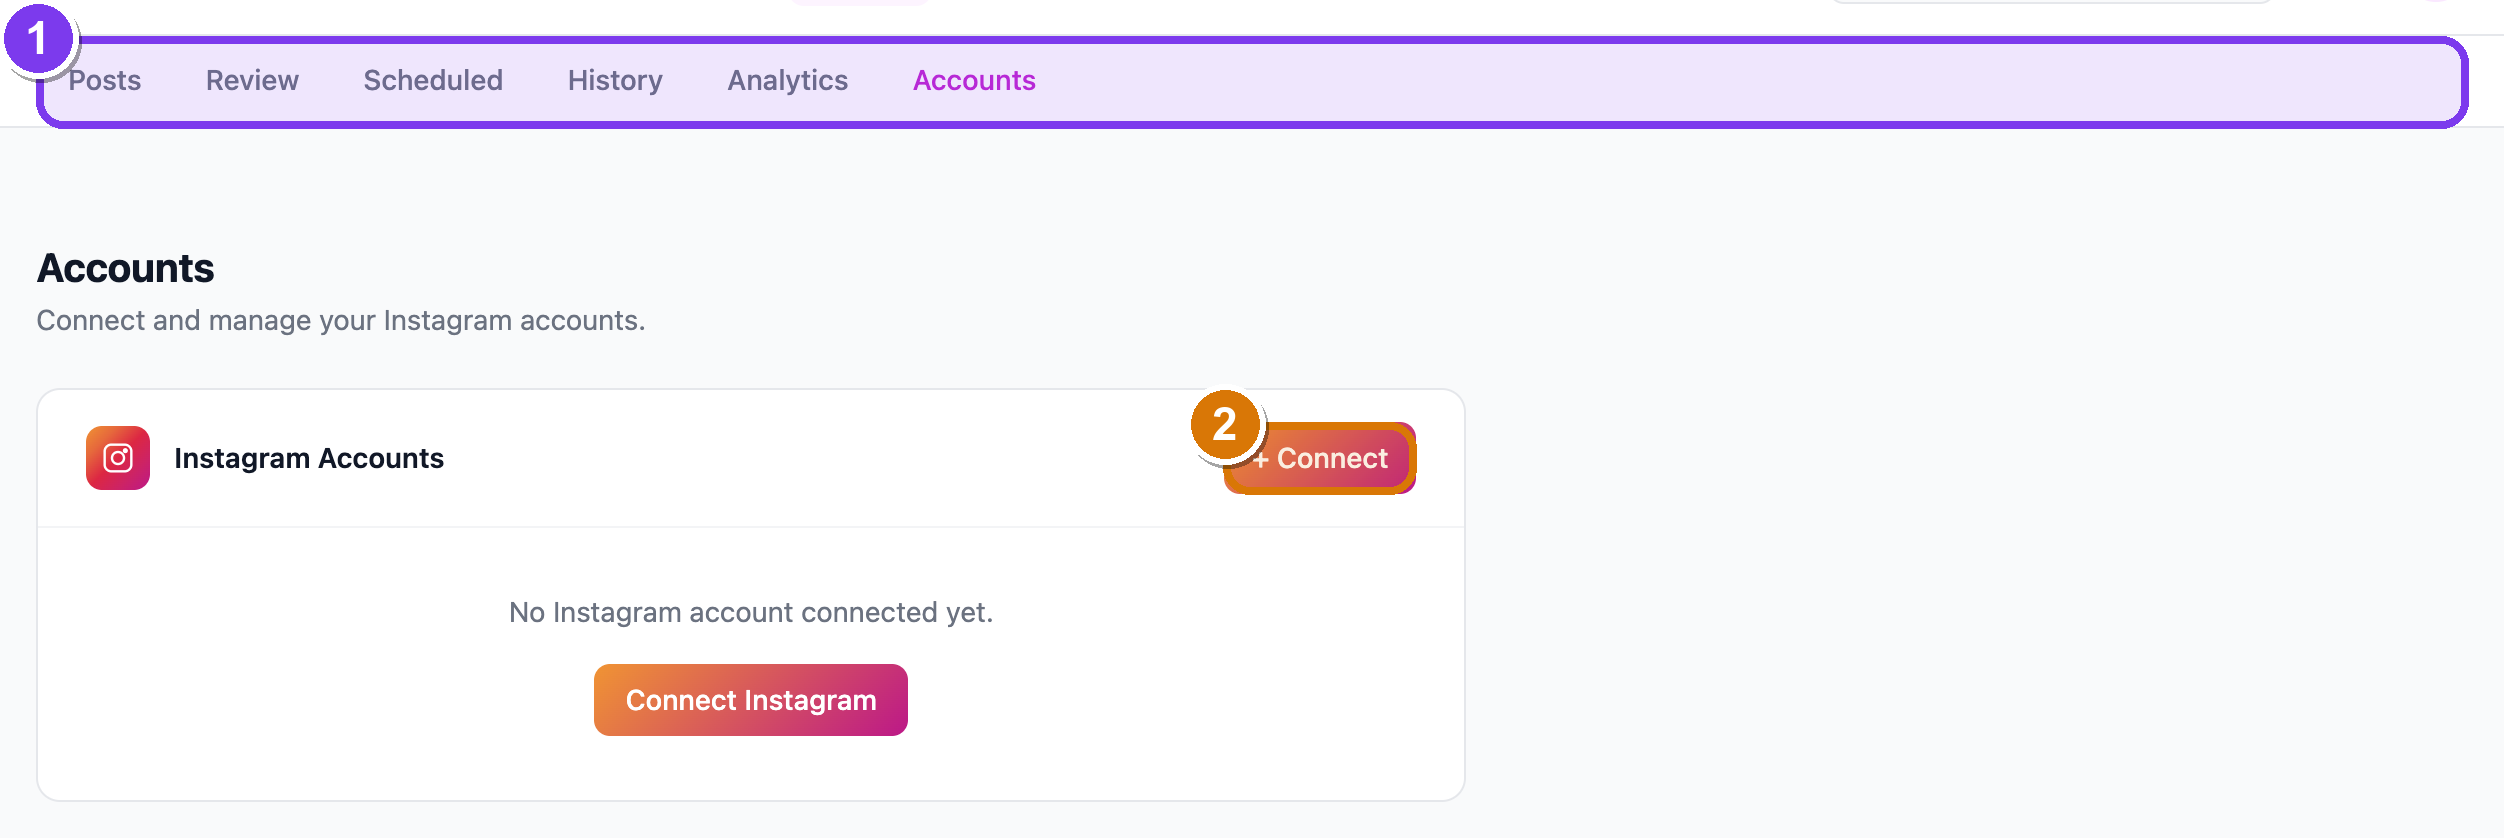 The Accounts tab, with the full Socials sub-nav across the top. ① Autopilot sits first; ② the + Connect button (top-right of the Instagram card) starts the connect flow; ③ a connected account shows its token expiry and, when analytics scopes are missing, a Reconnect for detailed analytics pill; ④ Sync history pulls in posts you made directly in the Instagram app.
Connect Instagram
You connect your account once. After that, posting just works.
- Go to Socials → Accounts. — the Instagram Accounts card sits on the left of the page.
- Click + Connect (top-right of that card). — your browser jumps to Meta's sign-in page. (On an empty account list the same button reads Connect Instagram.)
- Sign in to Meta and approve SnapFlow. — you land back on Accounts, now showing your handle, e.g. @yourstudio.
- (Optional) In the small box under the handle, type a friendly label (e.g. Studio account) and click Save. — the label shows under the handle so you can tell two accounts apart.
You can connect up to five accounts. To remove one, click Disconnect next to it and confirm.
Business or Creator account required
Instagram only lets you publish from a Business or Creator account linked to a Facebook Page. A personal account can't post through the API. Switch it in the Instagram app first (Settings → Account type), then come back and connect.
Token expiry
Each connected account shows a Token expires date. SnapFlow refreshes tokens automatically before they lapse, but if a post fails with a token error, just click + Connect again on the same account to refresh it. If the account shows a Reconnect for detailed analytics pill, reconnecting also unlocks impressions/reach numbers.
Self-hosting?
On a self-hosted SnapFlow, posting needs the operator's own Meta app configured and approved for content publishing — otherwise connecting returns "Instagram integration not configured." On the hosted snap-flow.org service this is already set up for you.
Post Stories from an album
This is the fastest way to get photos out. It lives on the album page, not in the Socials area.
- Open the album (Dashboard → Albums → click the album). — the album grid opens.
- Select the photos you want (tick them, or use the bulk selection). — a bulk toolbar appears along the bottom.
- Click Post to Stories. — the Post to Instagram Stories modal opens, showing which account you'll post as.
- (Optional) Type a Caption — it's shared across every selected photo. — the helper line reminds you: "Max 25 stories per hour across all posts."
- Under Story format, pick how each photo fits a 9:16 Story: - Original — Instagram letterboxes the photo with a blurred background, so the whole frame stays visible. - Crop to 9:16 — smart-crops to fill the full Story frame.
- Click Queue Stories. — each selected photo is queued and posts as its own Story.
Stories can't carry tags
Account @-tagging applies to feed posts and carousels only — Instagram doesn't allow tagging accounts in Stories. (See Captions, hashtags & tagging below.)
Auto-post a live event
When you're shooting live, you can have new keeper photos post themselves as Stories. The switch lives on the album's settings page, nested inside Live delivery.
- Open the album → More ▾ → Edit album…. — the Edit album page opens in two columns.
- In the right-hand Workflows card, find Live delivery and turn it on, then tick 📷 Auto Instagram. — a small set of Instagram options unfolds below it.
- Pick the Post using account (only shows if you've connected more than one). — the chosen handle is shown.
- Set Minimum rating to post — choose All photos (no minimum) or, say, ★★★★☆ 4★ and above, so only your keepers go out. — only photos at or above that star rating auto-post.
- Under Story format, choose Original (blurred letterbox) or Smart crop (fill the 9:16 frame using face detection).
- Click Save changes (bottom-left). — from now on, every new photo that meets the rating posts itself as a Story as it uploads.
Rating is the gate
Auto-posting reads the same star rating you give while culling. Rate a photo at or above your threshold and it queues a Story automatically. See Culling & rating for how stars work, and Album settings & workflows for the full Workflows card.
You need a connected account first
If no Instagram account is connected, the Auto Instagram options show "No Instagram account connected." with a link to connect — do that first.
Feed posts, carousels & tips
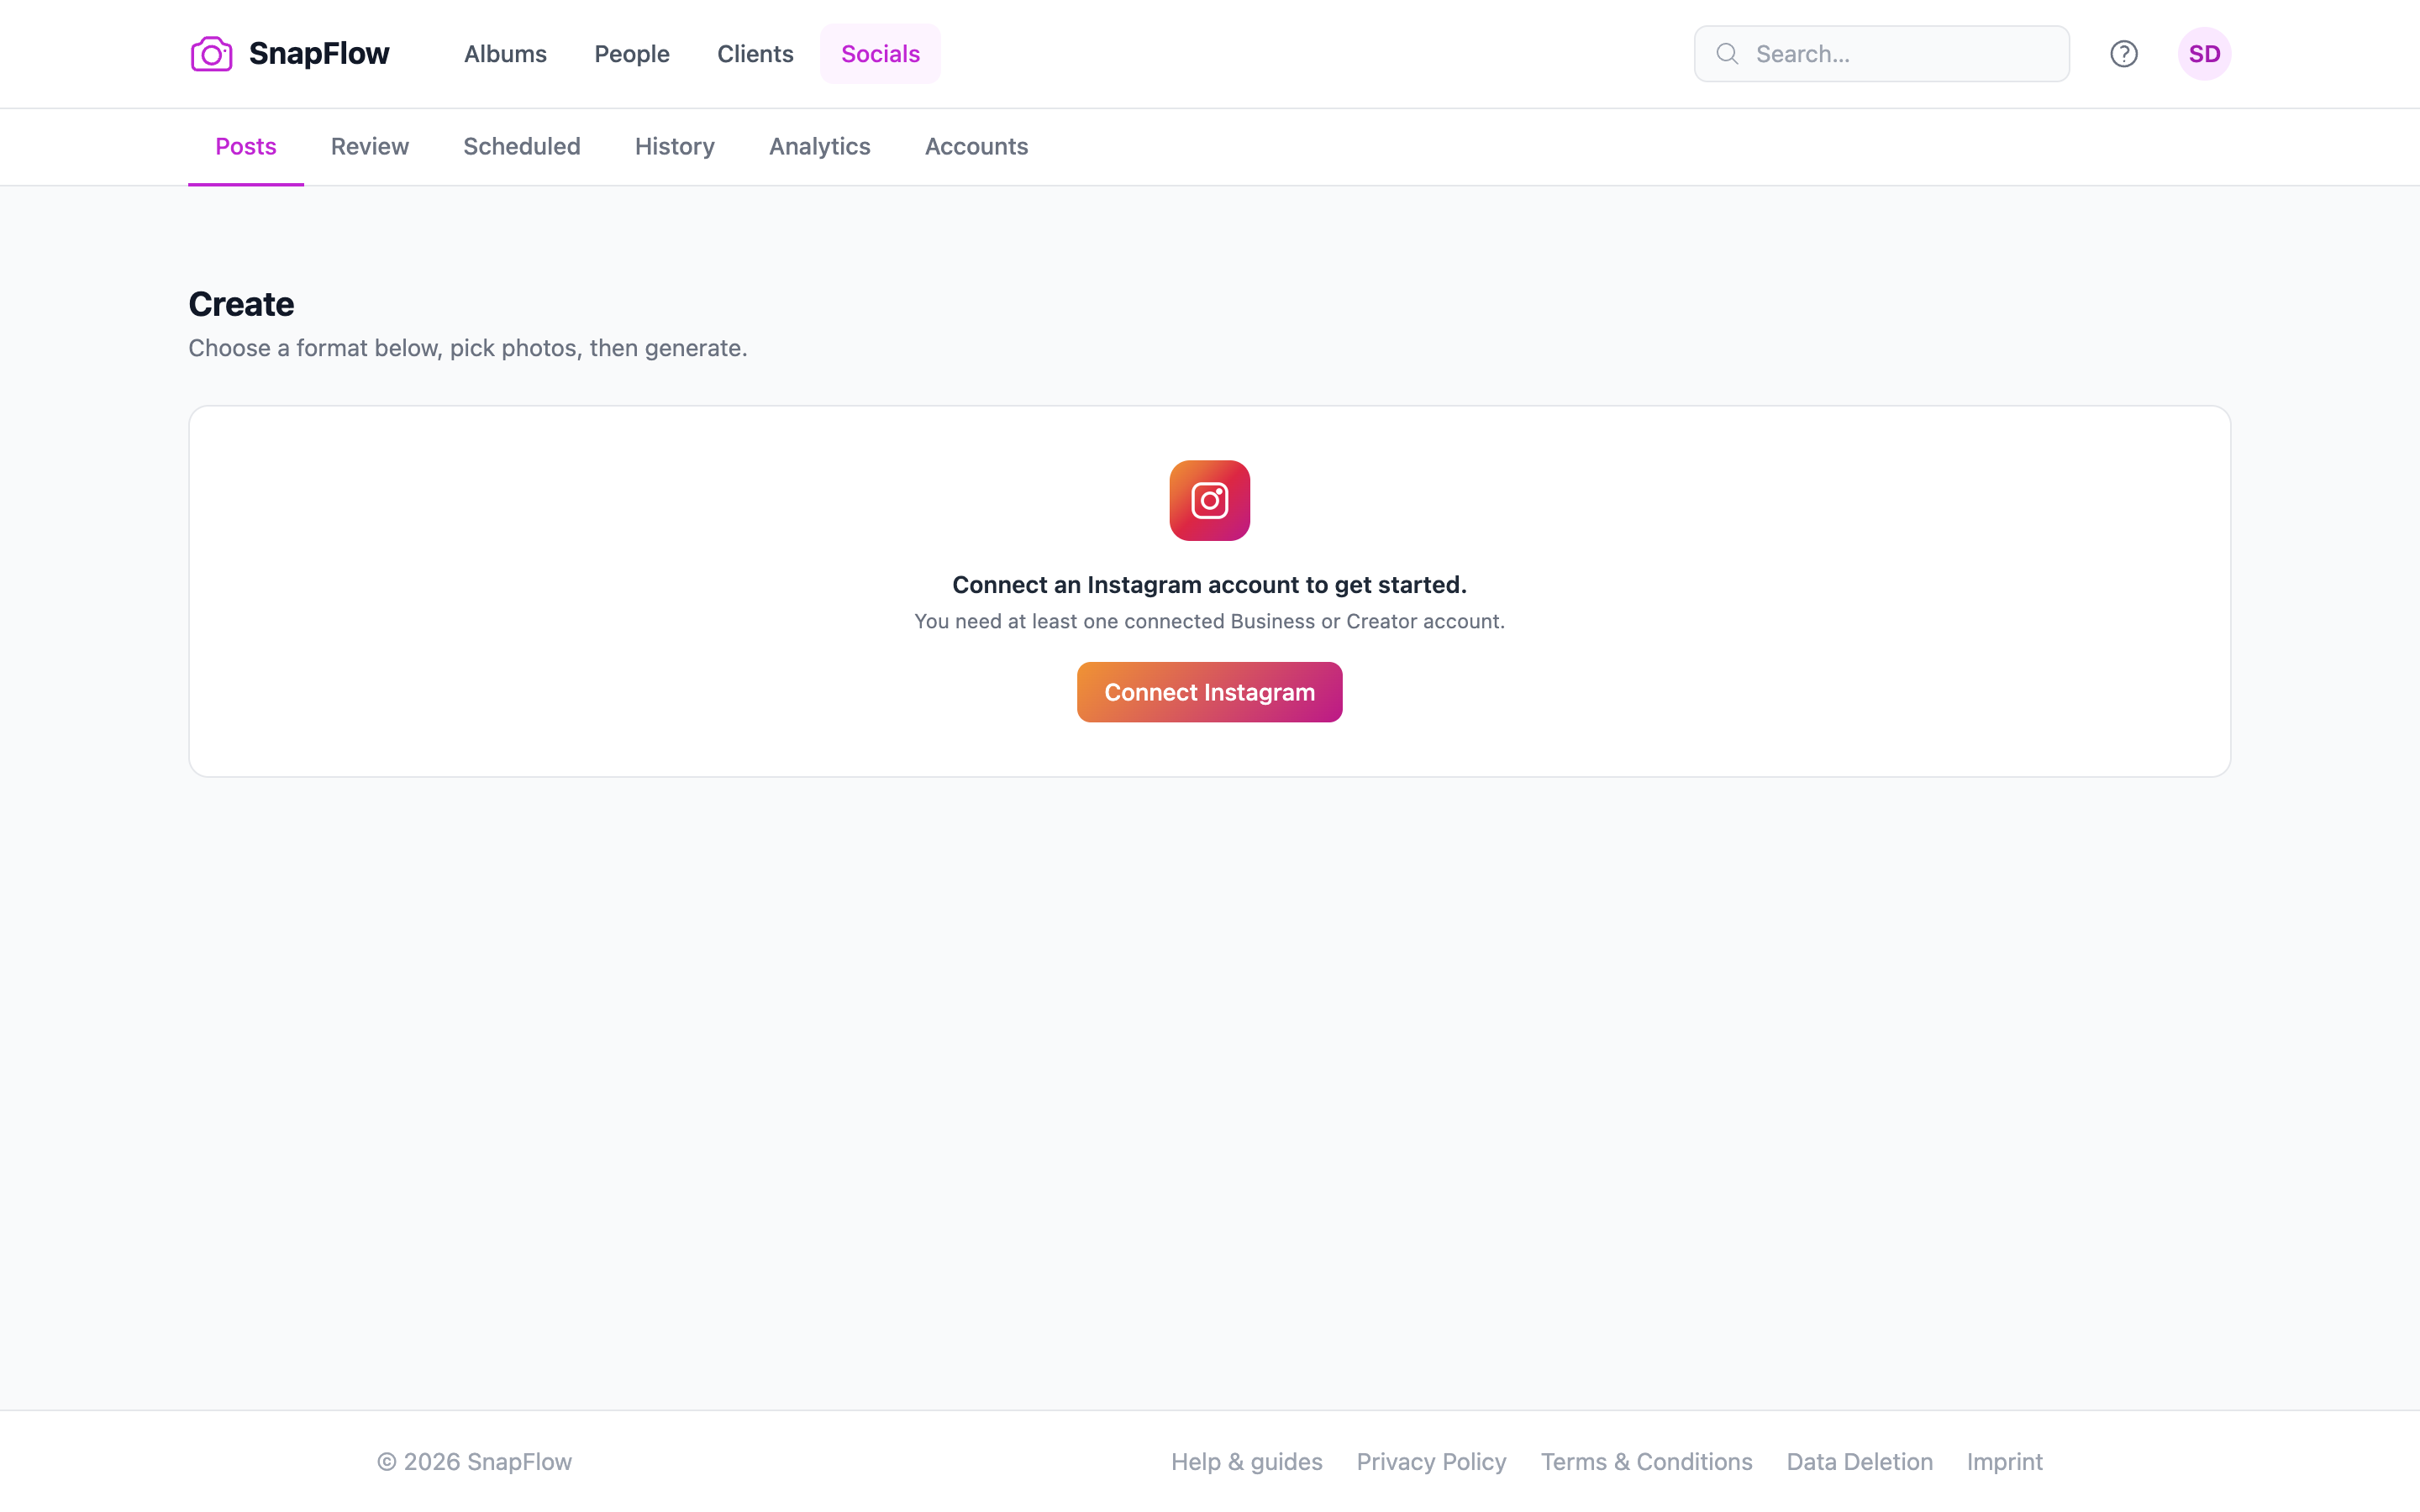
For richer posts than Stories, use the Posts tab. It opens with a grid of format cards under the heading Post format.
 The Post format card grid on Socials → Posts. The four AI cards — ① Auto AI, ② Single posts, ③ Carousels (with a Posts: − / + stepper), ④ Tips carousel ✦ — appear only on Studio. The two always-available cards are ⑤ Manual post and ⑥ Manual tips carousel. Click a card, then pick photos below.
The six cards do different things:
- Auto AI Studio — AI picks the best format for your photos (singles, carousels, or a mix).
- Single posts Studio — one AI-captioned post per selected photo.
- Carousels Studio — groups photos into carousel posts. Use the Posts: − / + stepper on the card to choose how many carousels to split them into.
- Manual post — pick photos and write your own caption. Always available.
- Tips carousel ✦ Studio — a multi-slide "5 tips for…" post; AI writes the topic and all slides from your photos.
- Manual tips carousel — pick photos and write the tips and slides yourself. Always available.
Make a single post or carousel
- On Socials → Posts, click a format card (e.g. Single posts or Carousels). — the card highlights in blue; a photo picker appears below.
- Choose your photos. — they show as selected thumbnails.
- (Carousels only) Use the Posts: − / + stepper to set how many carousels to build. — the number between the buttons updates.
- Continue to build. — your draft is generated and lands on the Review tab (see Review, approve & schedule).
Make a tips carousel
- On Socials → Posts, click Tips carousel ✦ (AI) or Manual tips carousel (write your own). — the slide editor opens.
- With Tips carousel ✦, AI drafts the topic and every slide; with the manual card you type them. — your draft appears on Review to edit and approve.
AI captions need consent
Caption and tip generation send content to our AI provider. You must tick AI processing of my photos and content under Profile → Consents first — it's a one-time GDPR consent. If it's off, the composer shows: "AI processing is off. Enable it at Profile → Consents…" See Account, storage & billing.
Reels
The Reels tab (Studio) builds short vertical videos. It opens with a row of mode cards under Create a Reel:
- Create from photos — turn selected photos into a reel.
- Upload finished video — drop in an MP4 you've already cut.
- AI Text Overlays — let AI add captions/overlays.
- Assemble from clips — stitch clips from your Clip Library.
- AI Clip Assembly — let AI assemble a reel from your clips.
- On Socials → Reels, click a mode (e.g. Create from photos). — its builder opens.
- Pick your photos or upload your video. — a preview is generated.
- Continue to build. — the reel draft lands on Review for approval.
Captions, hashtags & tagging
When you edit a draft on the Review tab (or open it from the composer), the editor gives you fine control over the caption:
- Hashtags — a comma-separated field for your tags.
- Split → first comment — click this and SnapFlow keeps your 5–7 brand-strong tags in the caption and moves the long-tail ones into a first comment, which is auto-posted about two minutes after the post lands. This reliably out-performs cramming 30 tags into the caption.
- Tag accounts (feed posts only) — type the @handles to tag, comma separated. Tagging works on feed posts and carousels — not on Stories or reels.
Why split hashtags?
A clean caption with a handful of strong tags, plus a tidy hashtag block in the first comment, looks better and tends to earn more saves than a wall of 30 hashtags. Split → first comment does the split for you.
Cross-post reels to TikTok
SnapFlow can also push a reel to TikTok right after it publishes on Instagram. Studio
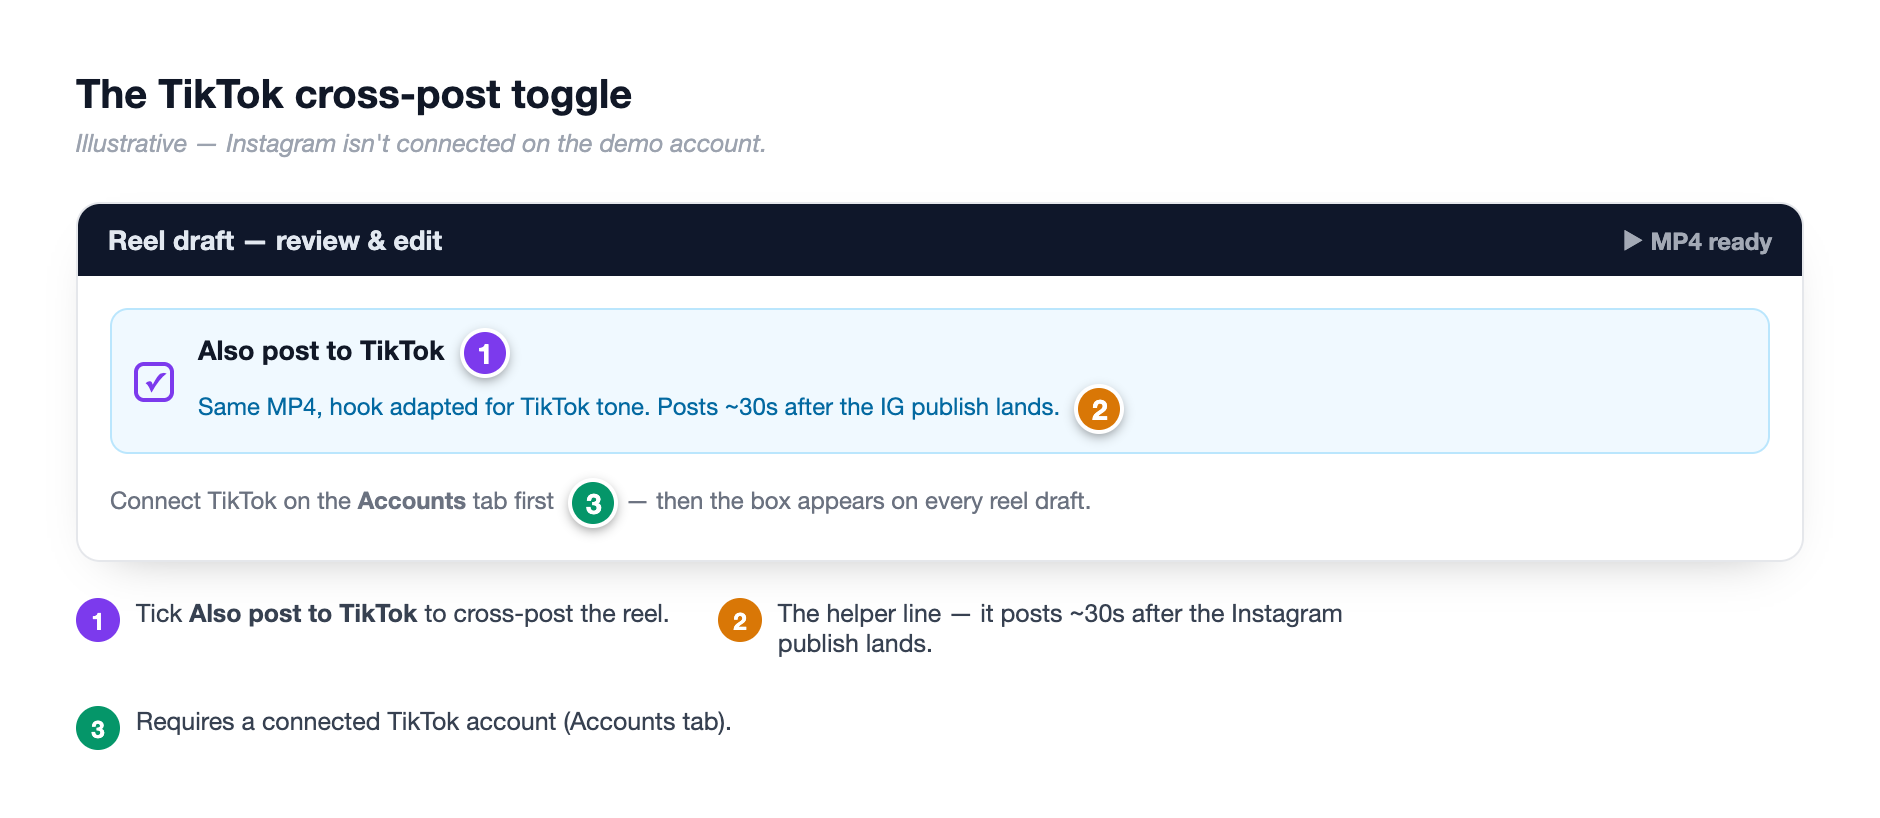 The reel draft editor's Also post to TikTok checkbox. ① Tick the box to cross-post; ② the helper line reads "Same MP4, hook adapted for TikTok tone. Posts ~30s after the IG publish lands." ③ An inset shows the TikTok connect step on the Accounts side.
- Connect TikTok once. — TikTok uses its own sign-in, the same way Instagram does. If TikTok isn't set up on your SnapFlow, connecting returns "TikTok integration is not configured."
- Build or open a reel draft on Review. — the reel editor opens. The cross-post option only shows for reels, because that's the only format with a video file to hand off.
- Tick Also post to TikTok. — the helper confirms: "Same MP4, hook adapted for TikTok tone. Posts ~30s after the IG publish lands."
- Approve the reel as usual. — it publishes to Instagram, then to TikTok about 30 seconds later. The card shows the TikTok status (Uploading… → Live on TikTok ✓).
Reels only
Single posts, carousels and tips carousels can't cross-post — there's no video file for them. The Also post to TikTok checkbox is hidden for those formats. There's also a quick Also post to TikTok button on a reel's Review card if you'd rather push it after the fact.
Review, approve & schedule
Every AI-built post lands on the Review tab as a draft so nothing posts without your say-so.
- Go to Socials → Review. — each draft shows as a card with its photo(s), caption and account.
- Click Edit to open the full editor (caption, hashtags, tag accounts, cover slide, photo style). — your changes save back to the draft.
- To publish now, click Approve. — the post goes out (or holds for its scheduled time if you set one).
- To schedule, click Schedule → the button changes to Pick time… and a date/time field appears → choose a time → click Approve. — the post is queued and moves to the Scheduled tab.
- To bin a draft, click Reject and confirm. — the draft is removed.
The Scheduled tab lists everything queued for a future time.
History, retries & analytics
The History tab shows what's gone out.
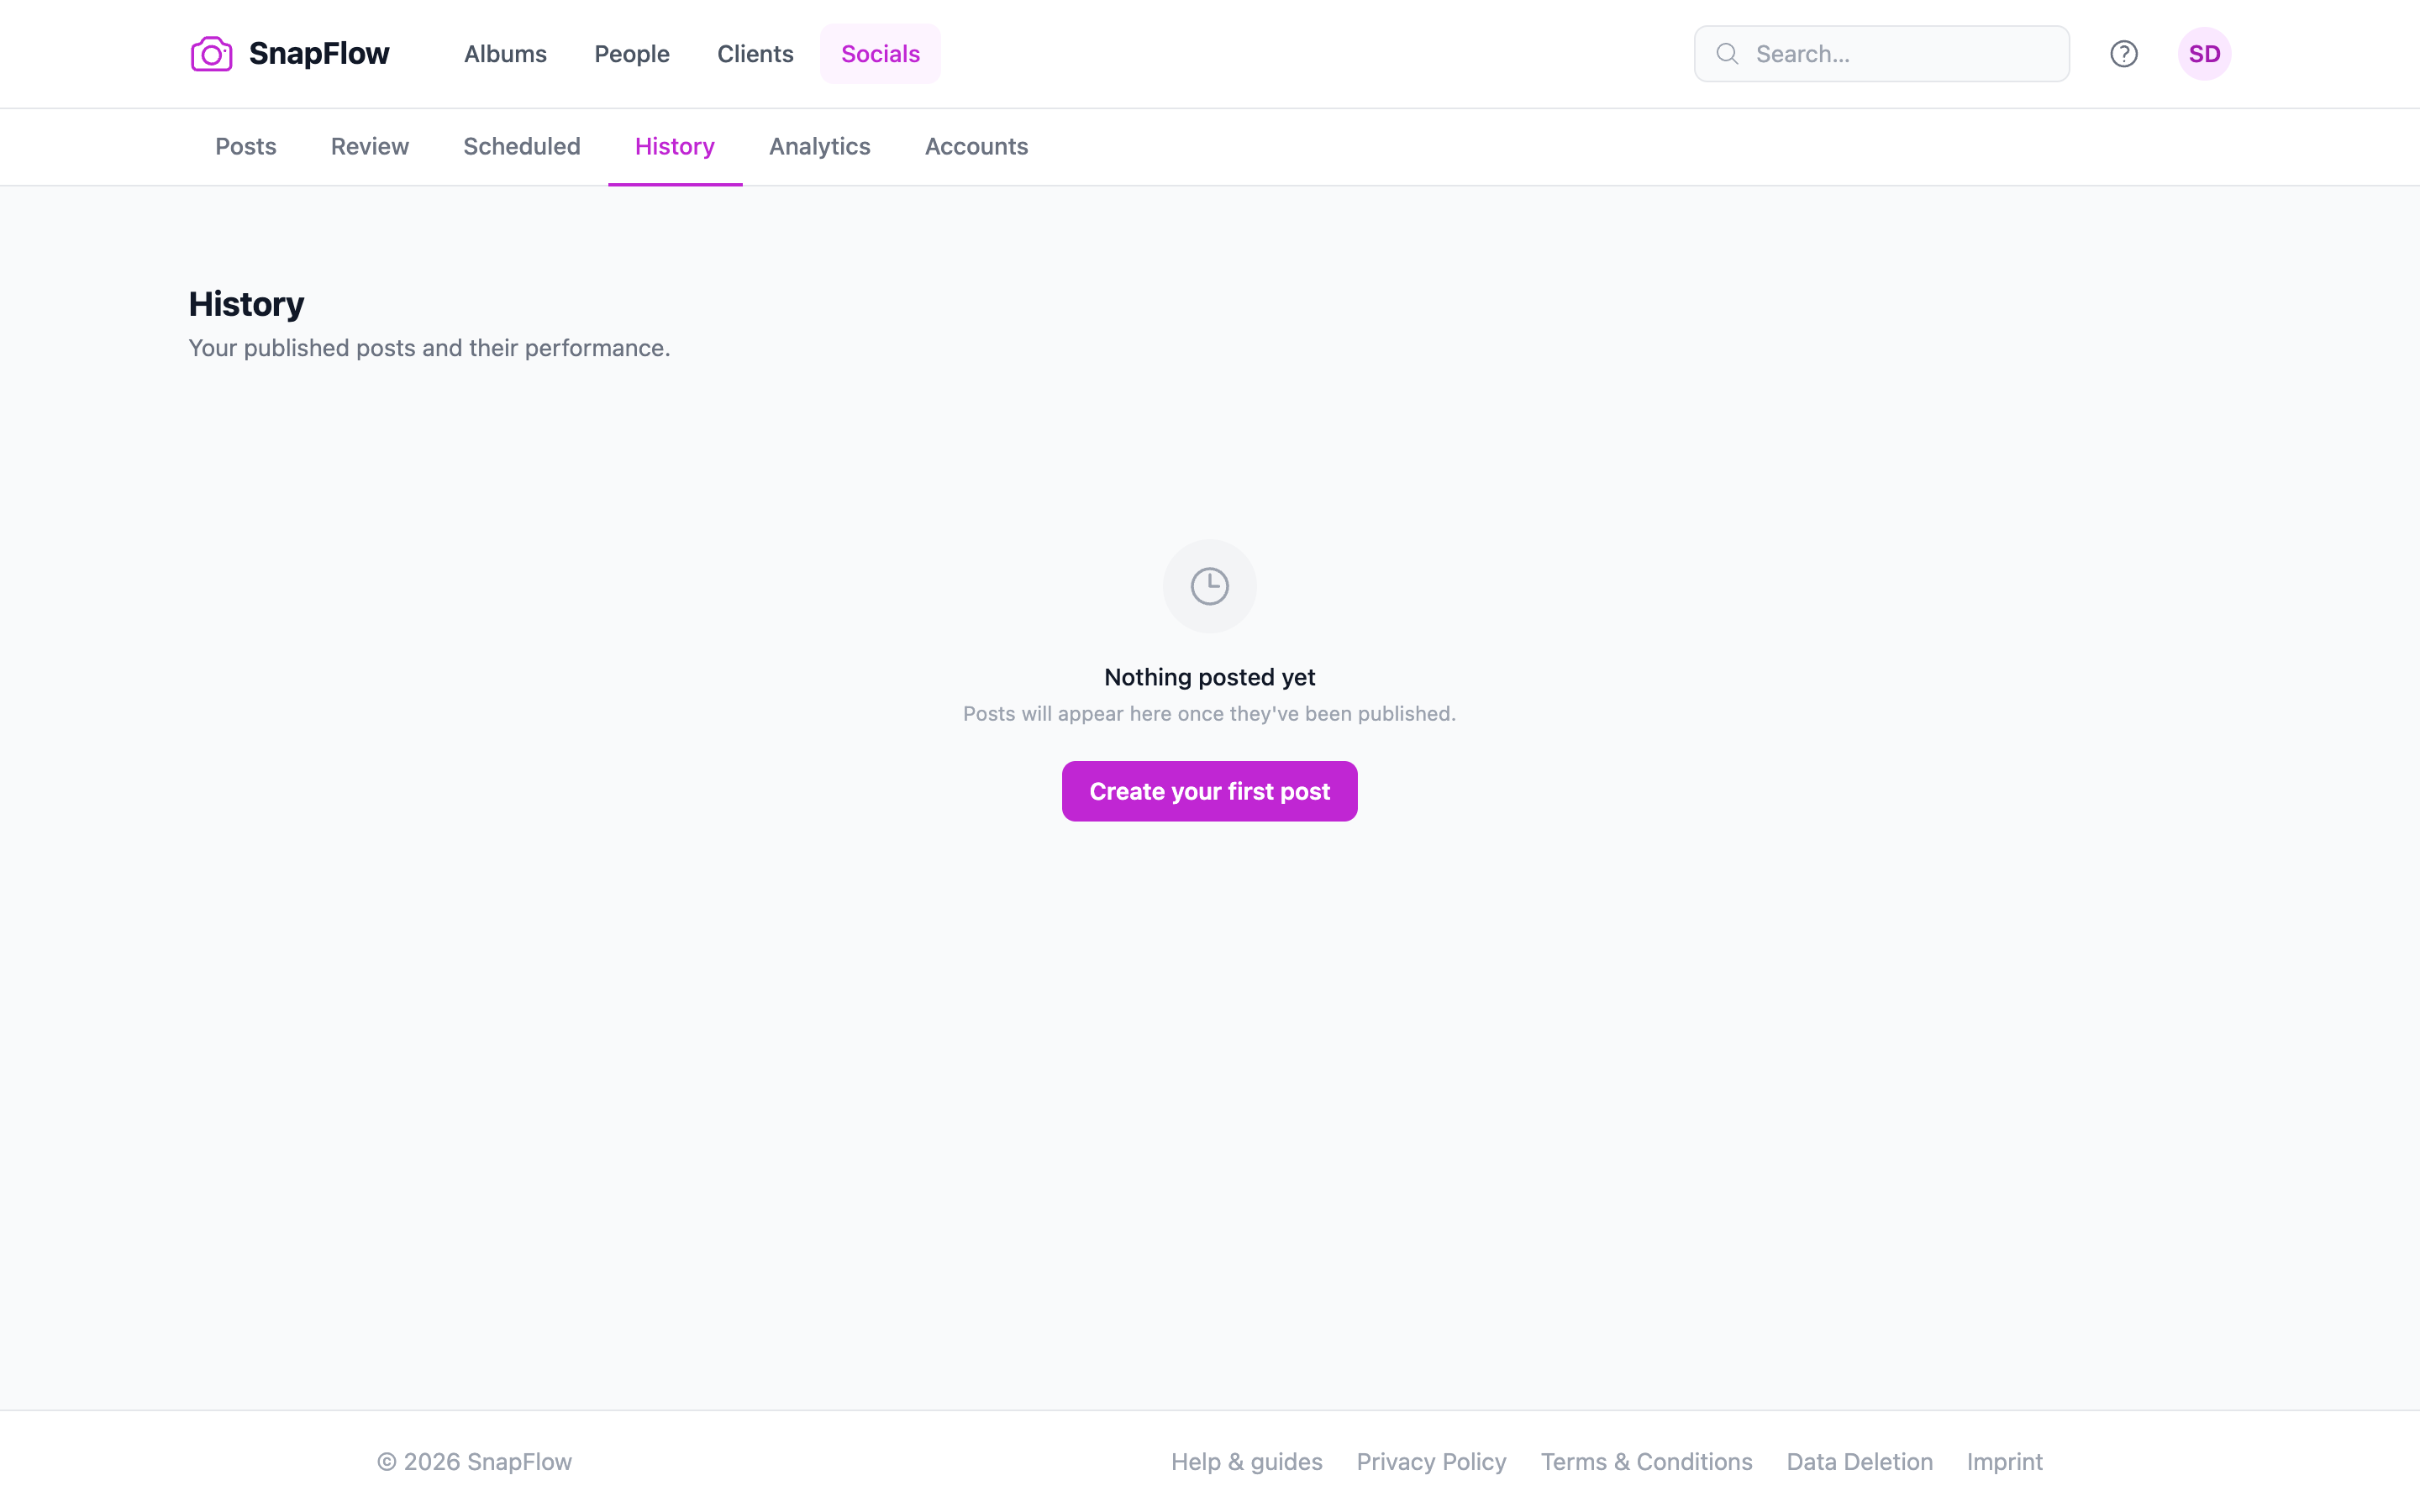 The History tab. ① Failed posts surface at the top with a red Failed pill and a ↺ Retry button; ② posted items show a green Posted pill; ③ a per-post metric block shows impressions, reach, likes, saves and comments; ④ a per-post ↺ Refresh re-pulls that one post's numbers.
- Failed posts appear first, each with the reason and a ↺ Retry button.
- Posted items show a green Posted pill, the posted date, and a metric block: impressions, reach, likes 🔖 saves and comments.
- A per-post ↺ Refresh re-pulls just that post's analytics.
There are four sync controls and they do different jobs — don't mix them up:
| Control | Where | What it does |
|---|---|---|
| ↺ Refresh | next to a posted item's metrics (History) | re-pulls that one post's analytics |
| ↺ Retry | on a failed post (History) | tries to publish it again |
| Sync now | top of the Analytics tab | refreshes the numbers for all posts in bulk |
| Sync history | bottom of the Accounts Instagram card | pulls in posts you made directly in the Instagram app |
If a post fails
The reason shows on the failed card. Common causes are an expired token (click + Connect on Accounts to refresh), a non-Business account, or the 25-posts-per-hour rate limit — then hit ↺ Retry. If captions or tips won't generate, tick AI processing of my photos and content under Profile → Consents and check your plan includes the AI suite.
Reels coach
The reels coach reads your recent reels and tells you, in plain words, what's holding viewers back. Studio
- Go to Socials → Analytics. — the analytics page opens.
- Click Reels analytics + coach →. — the Reels analytics page opens with a Reels coach card.
- Click Diagnose my reels. — the coach analyses your recent reels (hooks, length, drop-off patterns) and writes back advice you can act on for the next one.
Coach needs AI + posted reels
The coach needs the AI plan, your AI processing consent (Profile → Consents), and at least a few posted reels to learn from.
The other Studio tabs at a glance
These extra tabs round out the AI suite. Studio
- Autopilot — keeps your queue filled for you. Tick Keep my queue filled automatically and, every six hours, SnapFlow checks your queue; if it drops below your weekly target it starts a new autopilot run. Posts still wait for your approval on Review.
- Growth (Growth Intelligence) Beta — competitor viral alerts and growth insights. The banner notes it's "currently in beta. Contact us to get early access."
- Voice & Ideas — set your Tone of Voice and inspiration sources so AI captions sound like you, and brainstorm post ideas.
- Clips (Clip Library) — organise reusable video clips into groups for use in posts, reels and Autopilot. It's separate from your photo albums.
On iOS
The iPhone app drafts on the move. iOS
In the app's Posts and Reels tabs you can draft post captions and ideas, build reels, and edit your drafts and tips. The fuller composer — schedule, history, analytics and the reels coach — lives on the web. See Posts & Reels.
From shoot to feed
For a live event: connect your account, turn on 📷 Auto Instagram with a minimum rating so only keepers post, and let Stories flow as you shoot. After the event, open Posts, build a carousel or tips post from the best frames, approve it on Review, then check History to see what landed and let the reels coach sharpen your next one.